Every roof tells a story — some whisper about years of neglect, others gleam proudly after a solid clean. What is a standard roof cleaning checklist? It’s the roadmap that separates a quick rinse from a professional-grade restoration. At Window Cleaning Melbourne Crew, we’ve spent years on rooftops across Victoria — from leafy Eltham homes to salty coastal properties in Brighton — learning what really works (and what definitely doesn’t) when it comes to keeping roofs in top shape.
Why A Roof Cleaning Checklist Matters
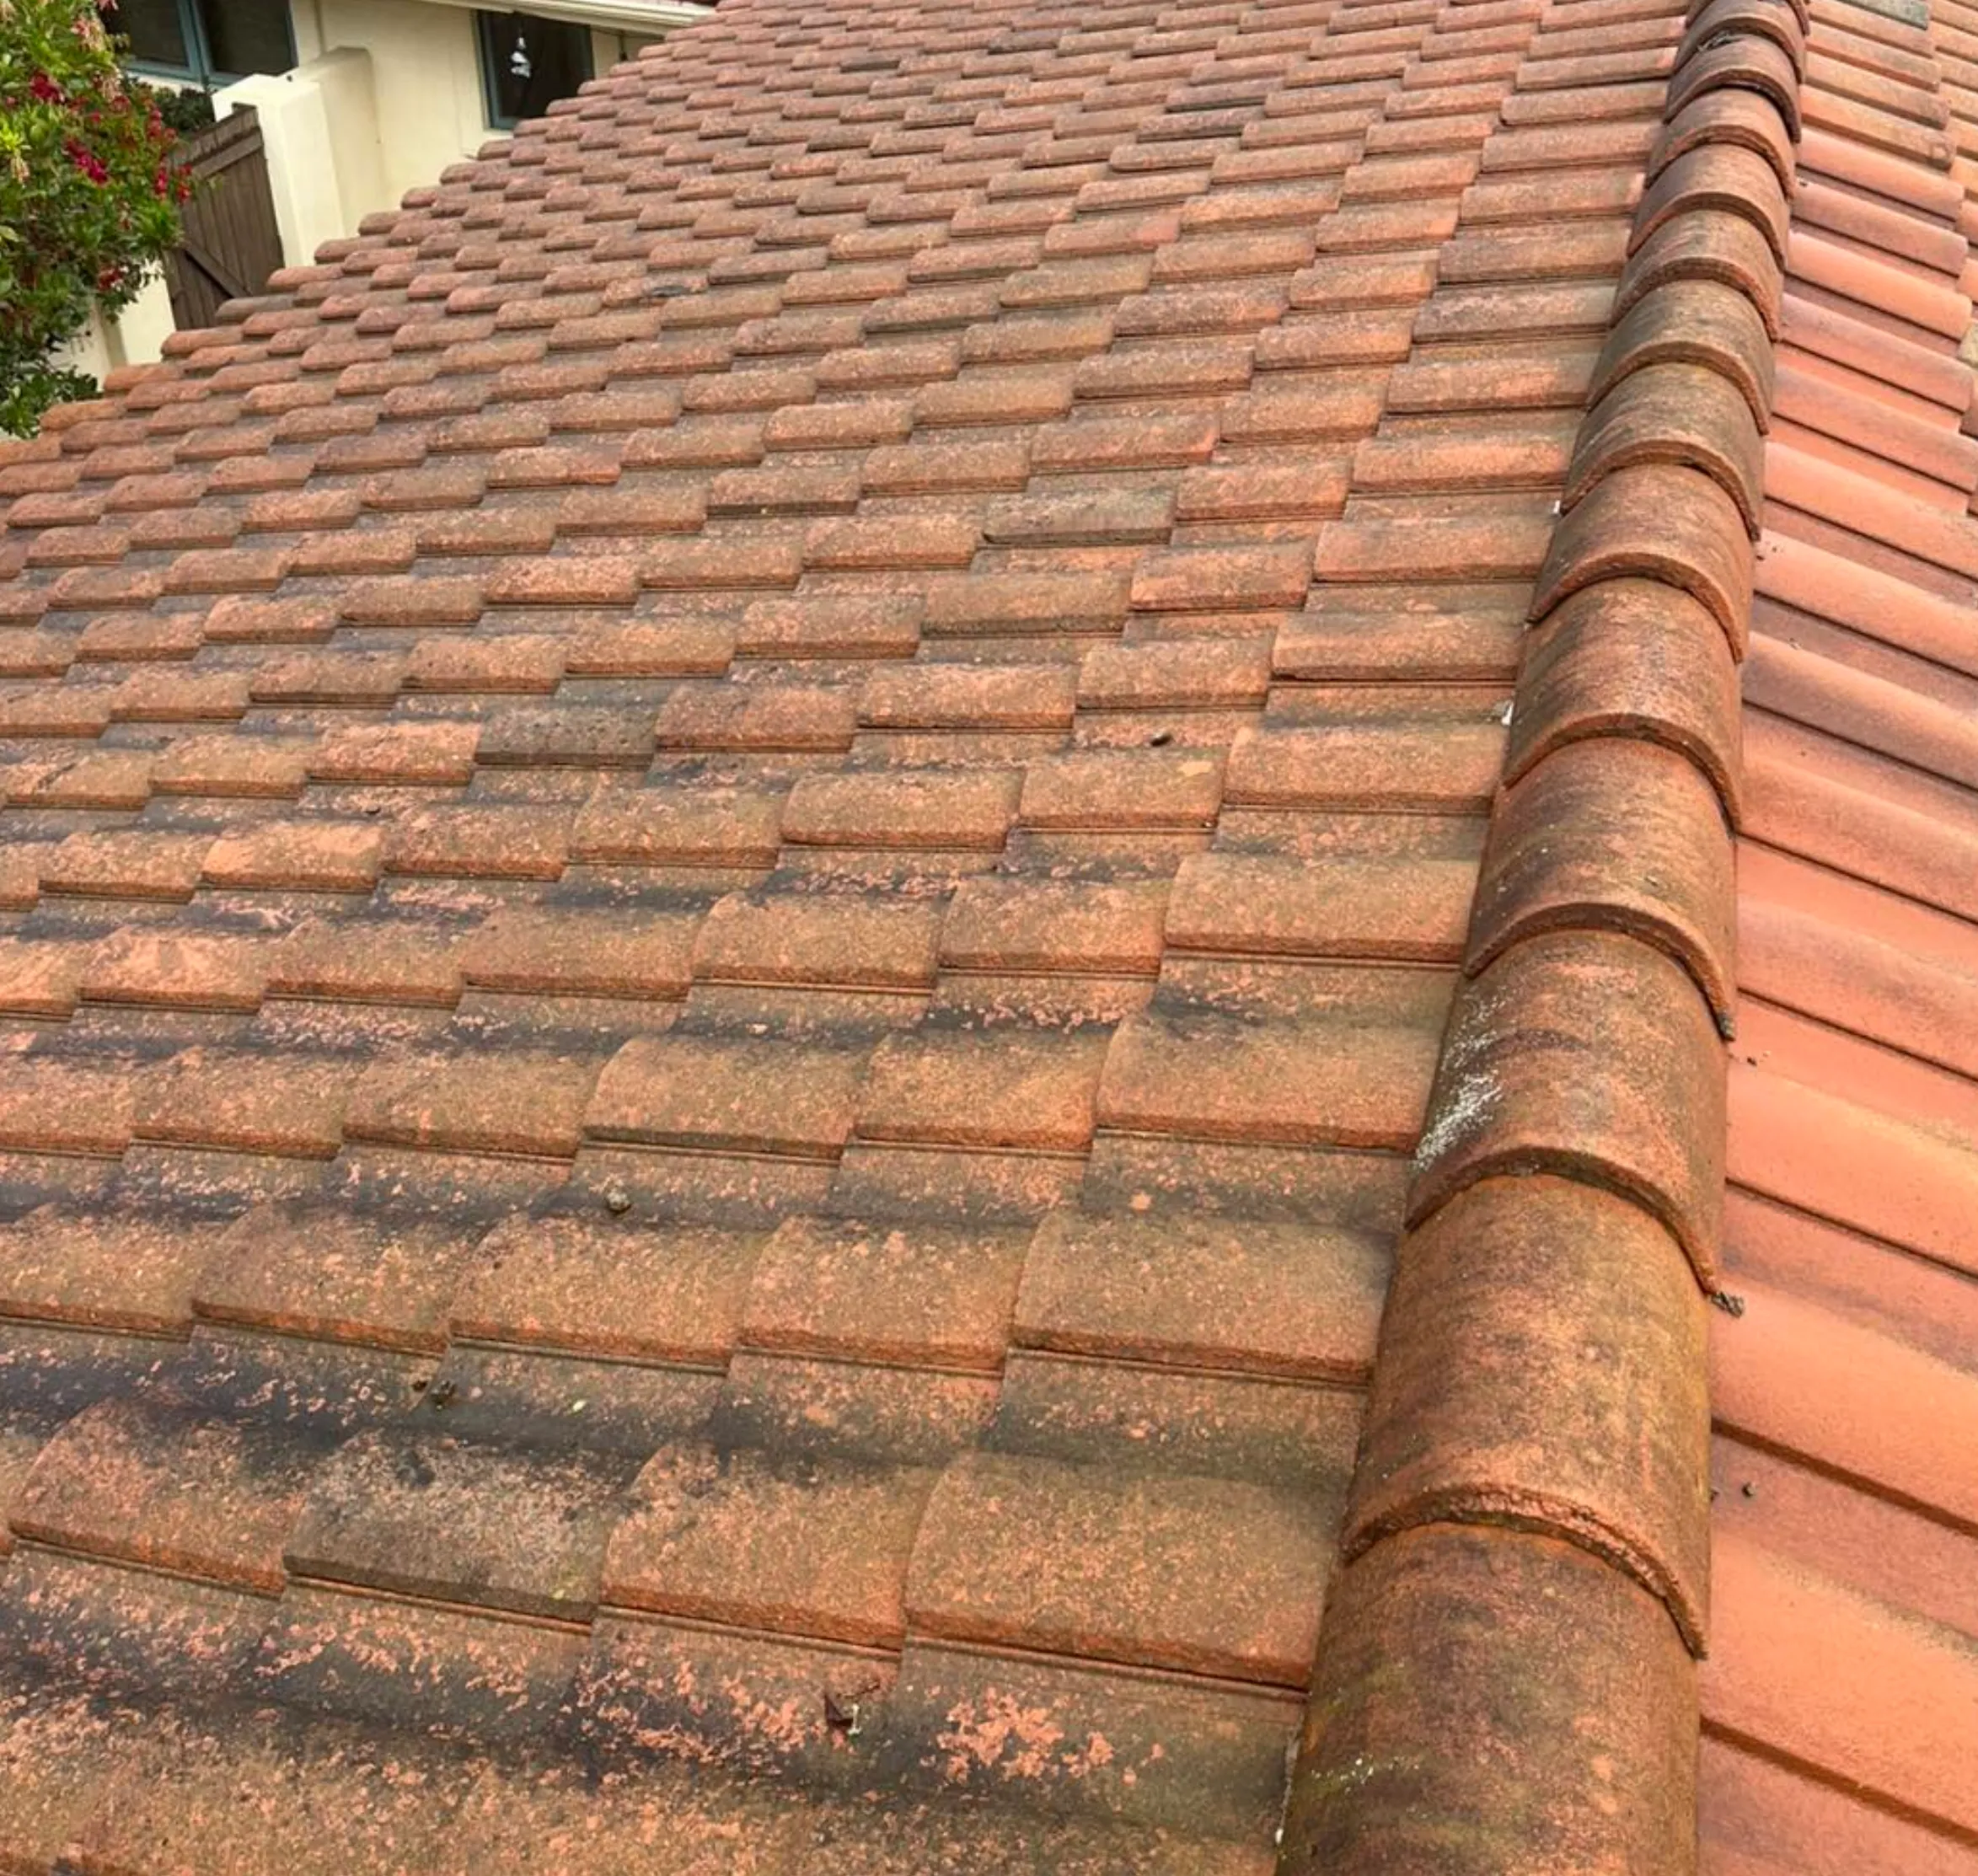
A clean roof isn’t just about appearances — it’s about longevity, roof maintenance and preventing costly damage. Dirt, black mould and other biological growths can trap moisture, leading to rust, water damage and roof leaks. Add Melbourne’s unpredictable mix of wind, rain and coastal salt, and you’ll understand why regular roof cleaning pays off in the long run.
At Window Cleaning Melbourne Crew, our experienced roof cleaners have seen too many homeowners face expensive roof replacement jobs that could’ve been avoided with proper cleaning. A detailed checklist ensures every step — from gutter clearing to using a safety harness — is done safely and correctly.
The Ultimate Surface Care Checklist
Below is the standard professional checklist our crew follows on residential and commercial jobs across Melbourne.
| Step | Task | Purpose | Recommended Frequency |
|---|---|---|---|
| 1 | Roof Inspection | Identify damages, leaks, and weak points before cleaning | Every 6–12 months |
| 2 | Debris Removal | Clear leaves, branches, and bird waste | Every season |
| 3 | Gutter And Downpipe Cleaning | Prevent blockages and water overflow | Twice a year |
| 4 | Pre-Treatment | Apply eco-friendly detergent using a garden sprayer | Before each clean |
| 5 | Pressure Washing | Remove moss, lichen, and organic growth | Every 12–18 months |
| 6 | Rinse And Inspect | Use a garden hose or air blower for the final clean | After each wash |
| 7 | Apply Protective Coating | Prevent future staining and mould regrowth | Every 2–3 years |
Each step requires proper safety equipment, including a harness, rubber gloves, and a soft-bristled broom for delicate areas. We also disconnect downpipes before cleaning to stop runoff from entering rainwater tanks.
Step 1: Inspect The Roof Before Touching A Hose
The simplest methods often save the most money. A roof inspection should come before any cleaning or maintenance work. We look for:
- Cracked or loose roof tiles
- Rust patches on metal or concrete roofs
- Signs of biological growth, such as moss or algae
- Loose ridge capping, flashing, or sealant gaps
- Damage caused by wind or debris impact
Even a small gap can lead to major water damage. That’s why we use our inspection checklist before every job — it’s the difference between simple cleaning and costly problems.
Step 2: Remove Debris And Clear Gutters
Before any pressure washing, debris has to go. Using a roof rake, plastic scoop, and soft-bristled broom, we clear leaves, branches, and nesting material from gutters and valleys. Bird waste and decaying leaves create acidic conditions that eat into coatings and lead to leaks.
Our crew often finds that a blocked gutter is behind half the roof leaks we’re called to fix. Once cleared, we use an air blower or garden hose to ensure water flows freely.
Step 3: Apply Eco-Friendly Pre-Treatment
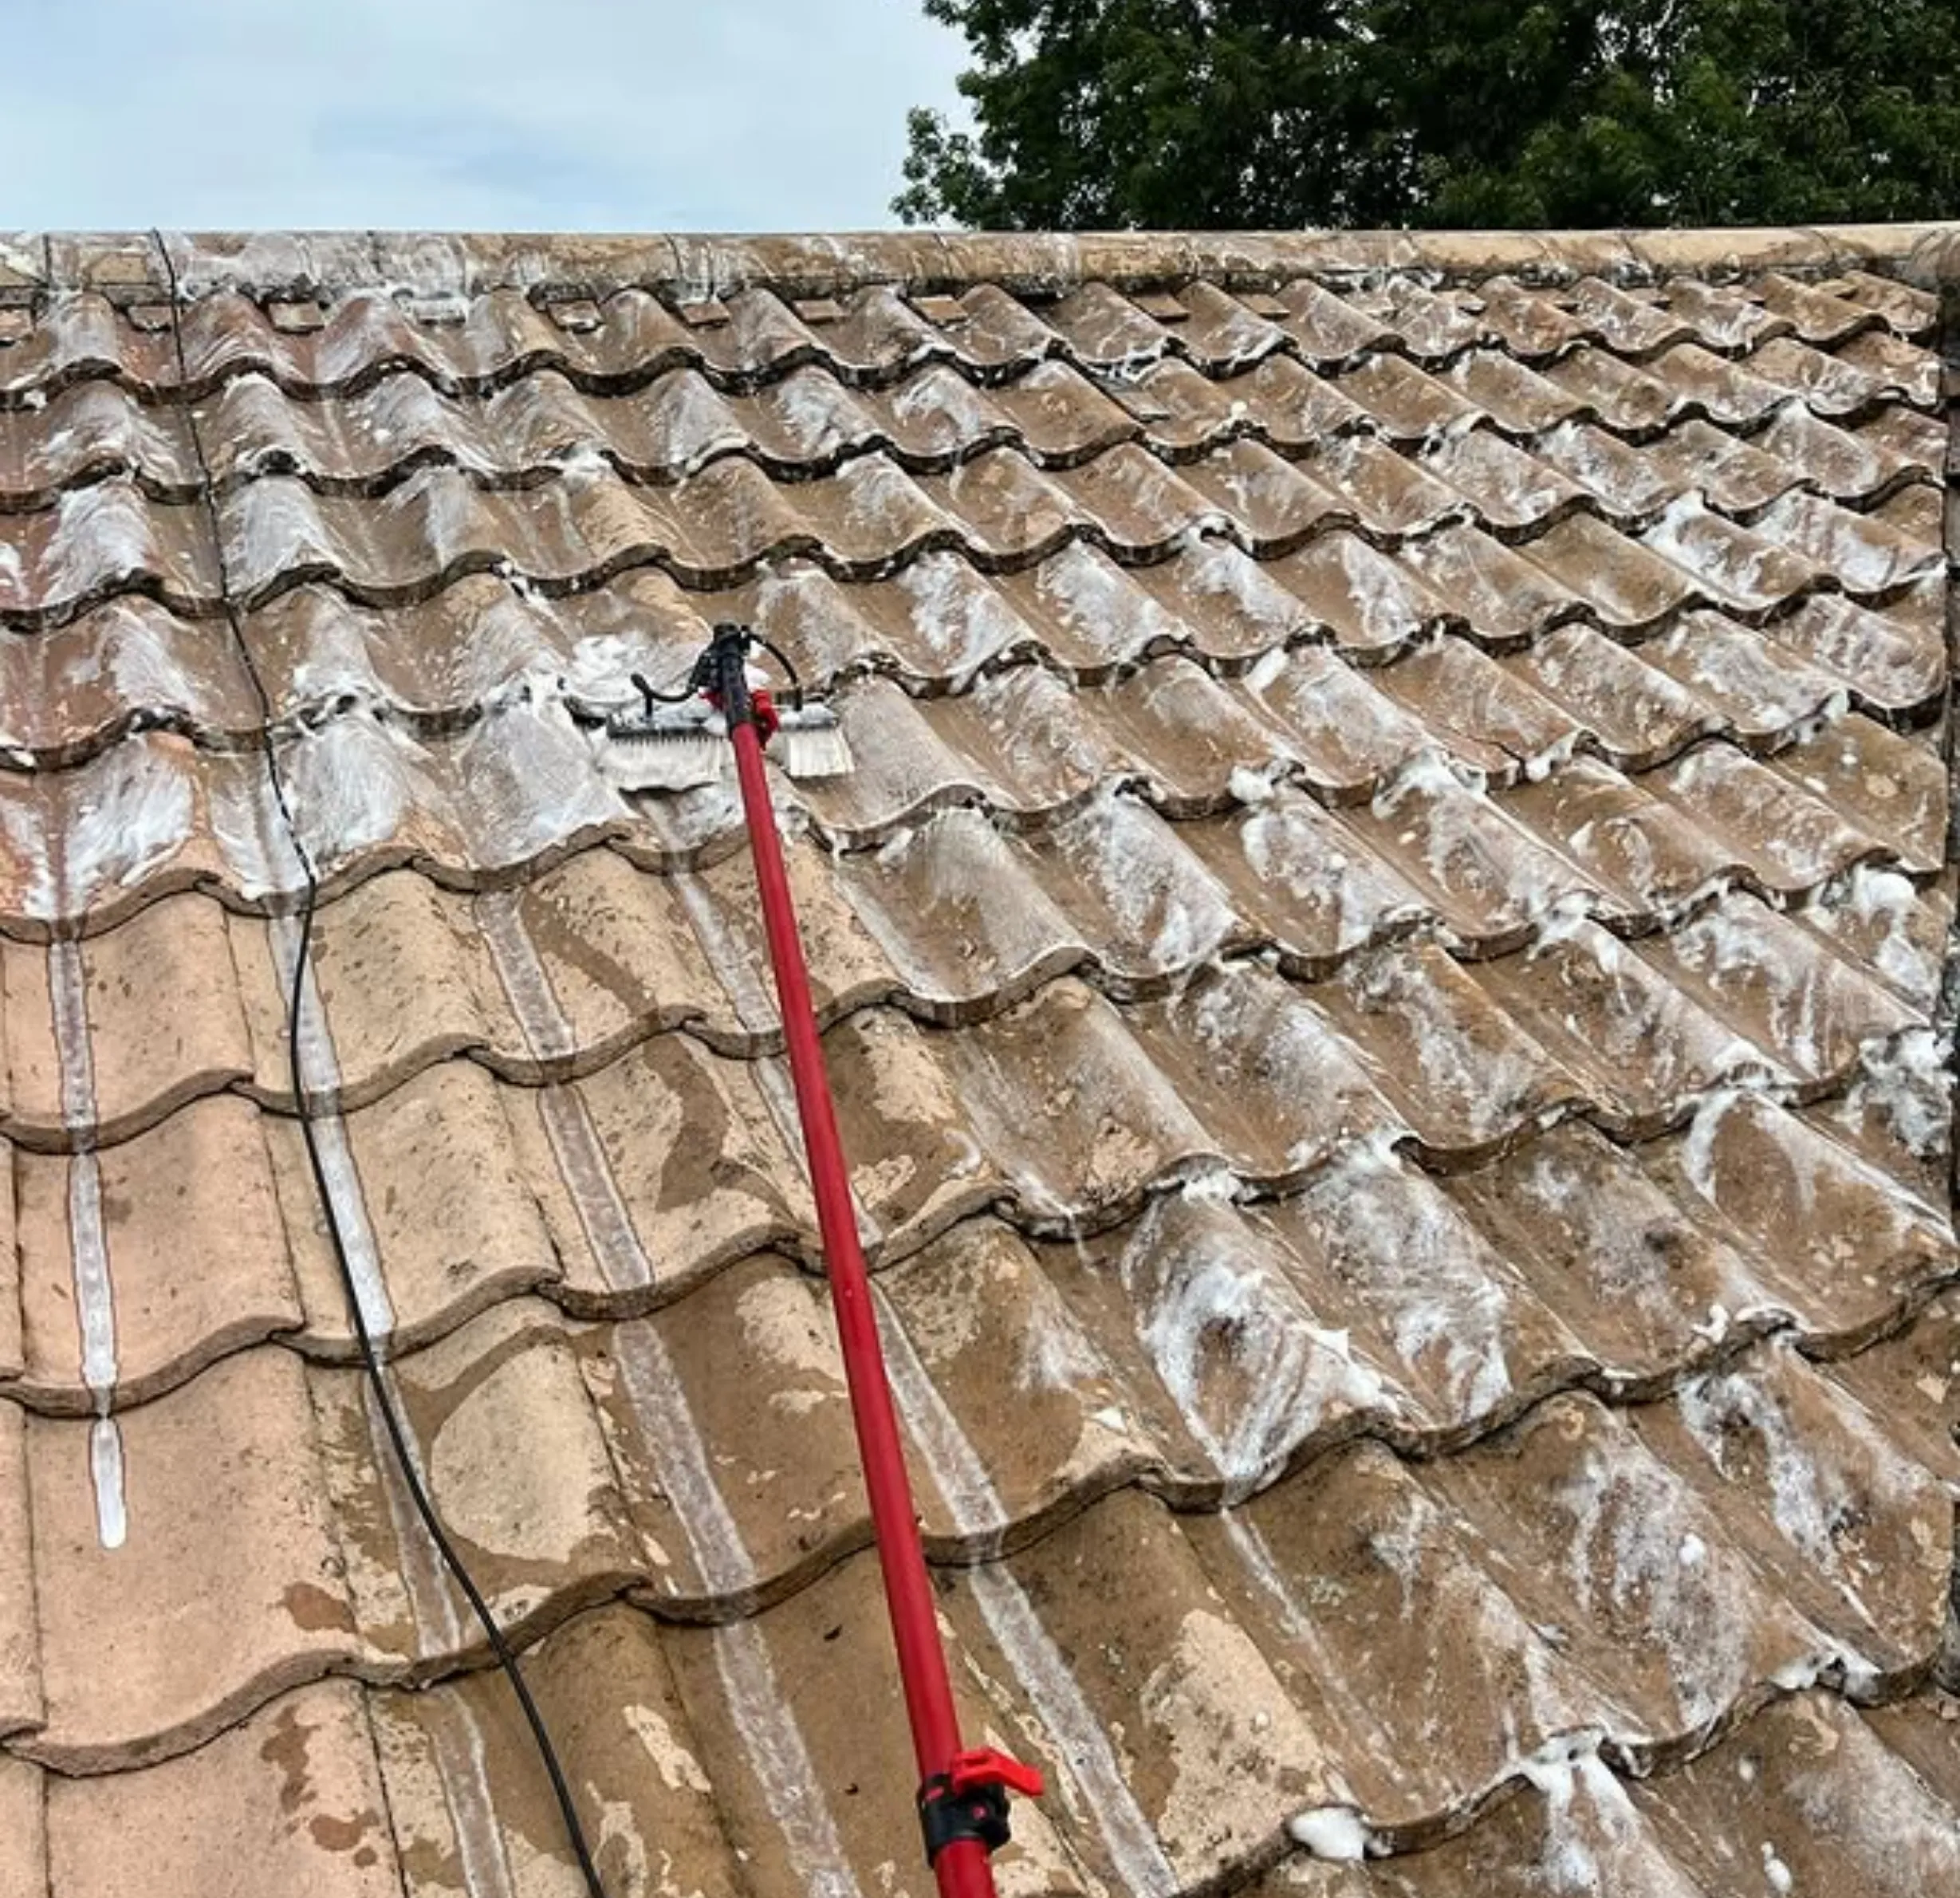
Before blasting away grime, we treat the roof with a gentle, biodegradable cleaning solution using a garden sprayer. This helps loosen organic growth — like mould, lichen, and algae — making the next stage faster and safer.
We avoid harsh chemical cleaning methods that can strip coatings or harm nearby plants. Instead, we use environmentally responsible products designed for roof restoration and long-term protection.
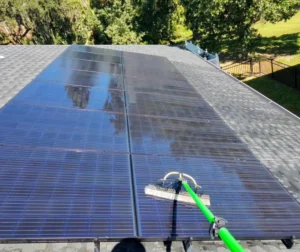
Step 4: Pressure Washing And Safe Cleaning Methods
Now comes the deep clean. Using a high-pressure water blaster, our specialists adjust PSI levels based on roof type:
- Concrete roofs: Medium to high pressure removes embedded dirt and moss.
- Metal or Colorbond roofs: Low-pressure washing maintains the protective coating.
- Tiled roofs: Moderate pressure with a fan nozzle prevents cracking.
We always work with safety harnesses, non-slip shoes, and proper ladder stabilisation. On colder days, we even account for ice dams forming on shaded roofs in outer suburbs — these can block runoff and cause hidden leaks if ignored.
Step 5: Rinsing, Inspection, And Detail Cleaning
After washing, we use a garden hose to rinse away residues and ensure no detergent remains. Then comes the detail work — inspecting flashings, screws, and ridge caps, and clearing stubborn grime with a soft-bristled broom.
We also reconnect downpipes only after confirming water runs clear. It’s one of the simplest steps that prevents contamination in rainwater tanks.
Step 6: Protective Coating And Prevention
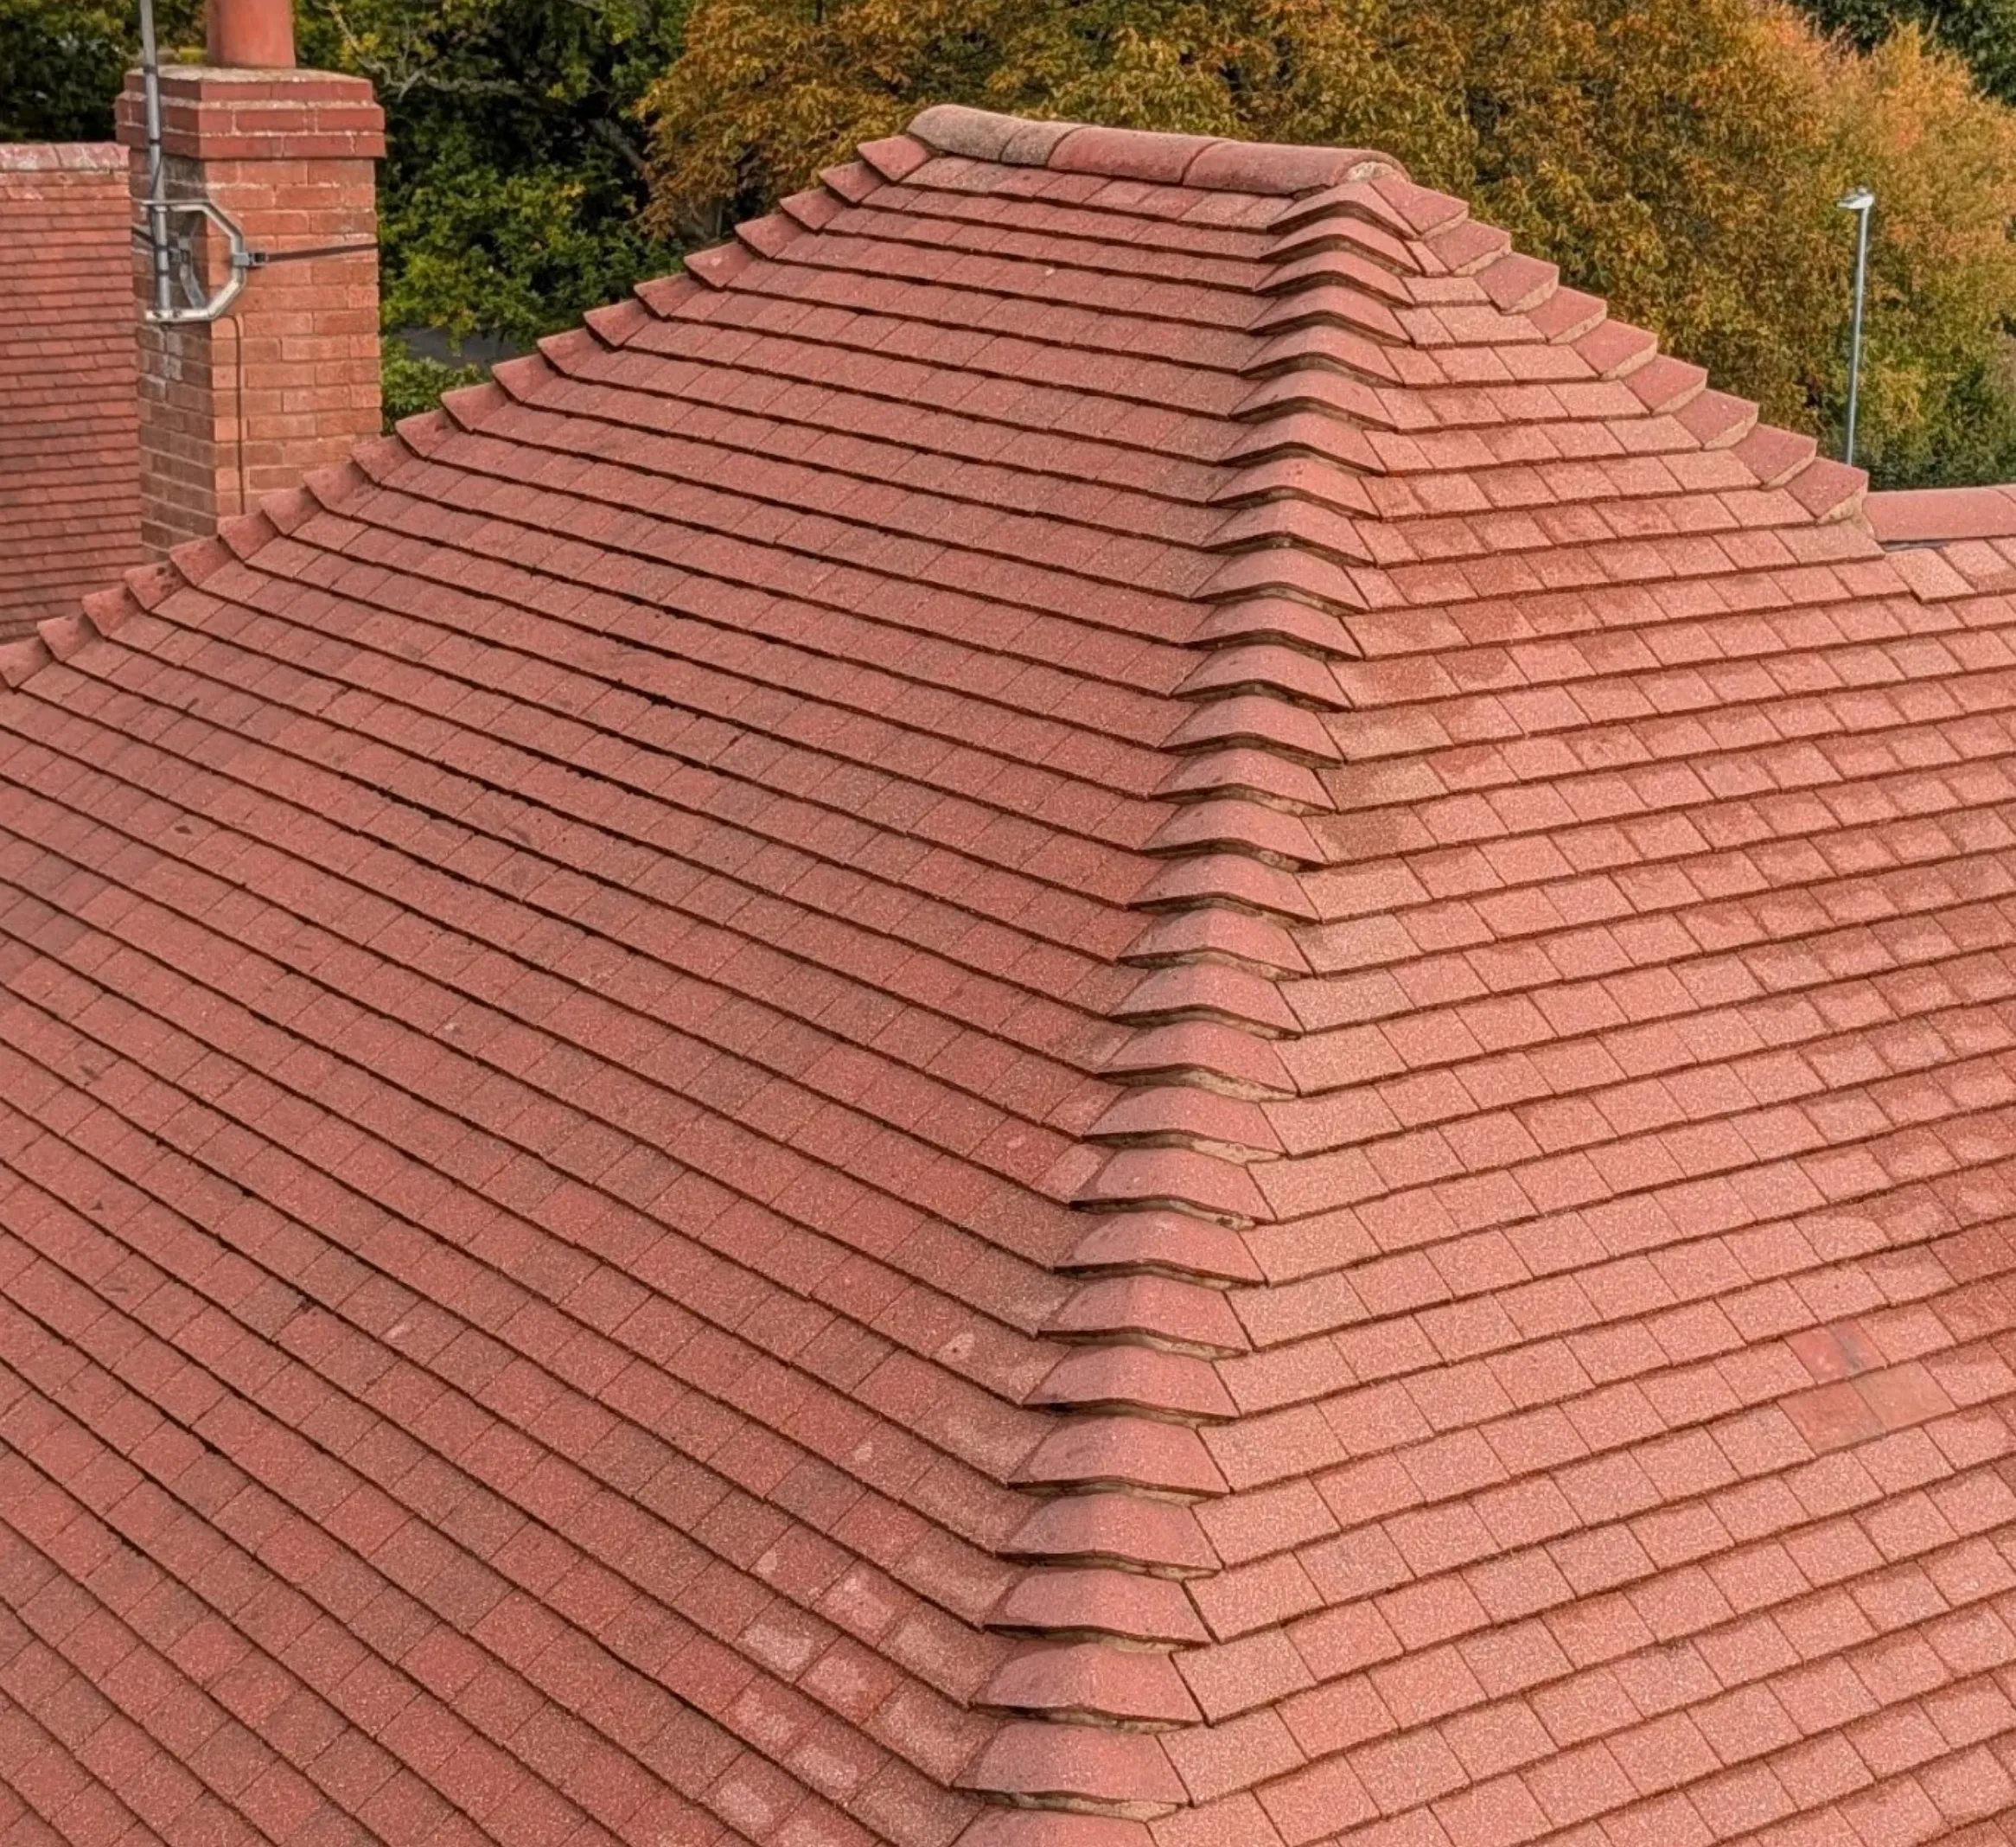
A well-cleaned roof deserves protection. We use Rapid Application sealants that reduce UV damage and help water bead off the surface. This minimises organic regrowth and improves curb appeal, especially before property sales.
These coatings also make future maintenance easier — water slides off faster, and dirt doesn’t cling as much. In coastal areas around Port Phillip Bay, this simple layer can double the lifespan of a paint job.
DIY vs Professional Maintenance
We’ve seen plenty of well-meaning DIY roof cleaning jobs go sideways — slippery tiles, damaged coatings, and dislodged gutters. While using a garden hose and broom for light maintenance is safe, serious cleaning calls for roof cleaning specialists with the right tools and insurance.
Professionals bring:
- Industrial-grade high-pressure water blasters
- Safety gear and fall protection systems
- Licensed handling of chemical cleaning solutions
- Experience working on everything from concrete roofs to Colorbond systems
For homeowners, it’s peace of mind that the job’s done right — without risking your neck or your warranty.
Eco-Friendly Roof Cleaning Practices
We’re big believers in green cleaning. Our detergents are phosphate-free, biodegradable, and safe for gardens and pets. We disconnect downpipes during every clean to stop runoff from entering storm drains.
Our approach balances effectiveness and sustainability — combining Rapid Application pre-treatments with gentle rinsing methods that restore the roof’s health without harming the environment.
Seasonal Roof Maintenance Tips

Melbourne’s climate demands different roof care each season:
- Spring: Remove winter moss and inspect for black mould.
- Summer: Focus on reflective coatings and sun protection.
- Autumn: Clean gutters to handle falling leaves and heavy rain.
- Winter: Check for blocked drainage or ice dams in colder suburbs.
A twice-yearly inspection — spring and autumn — is the simplest way to keep your roof safe, clean, and watertight.
FAQ
Can I use a garden hose instead of a pressure washer?
Yes, for light maintenance or rinsing, a hose works fine. For deeper cleaning, use a high-pressure water blaster handled by professionals.
Will pressure washing damage my roof tiles?
Not when done correctly. Professionals use calibrated nozzles and pressure settings suited to your roof tiles or metal sheeting.
How can I prevent black mould on my roof?
Keep debris clear, ensure good drainage, and schedule regular cleaning. Anti-fungal coatings also help prevent regrowth.
Should I disconnect downpipes during cleaning?
Absolutely — it prevents detergent or debris from entering rainwater tanks. Always reconnect once runoff runs clear.
What’s the safest way to clean my roof myself?
Stick to ground-level tools like a roof rake, garden sprayer, or soft-bristled broom. Avoid climbing without a safety harness or professional training.